 Prep 5 mins Cook 20 mins Simmer 3 hours Eat 3:25
Would you like to learn how to make a super easy turkey gravy without lumps this Thanksgiving? I have a foolproof method that I learned in culinary school that is so simple, you will wonder why you didn’t learn it sooner. That’s how I felt after learning it. Whenever I am invited to someone’s home where turkey is being roasted, I am always asked to make the gravy. No problem.
When I was growing up, every mother I knew had a shaker that you put flour and water into to mix into the turkey drippings on Thanksgiving, but I have learned, this is NOT the way to make gravy without lumps, so follow my easy steps for a stress free gravy making day.
 Step 1: Make the turkey stock. This is optional, but it is so easy, why not, I say? You could use purchased chicken broth or my favorite product, Better than Bouillon in place of the turkey stock.
 Place turkey neck and giblets into a pot. Add a sliced onion, peeled carrot, celery stalk, 2 parsley stems, 2 sprigs of thyme or 1/2 tsp thyme, 2 whole cloves and 2 peppercorns. Add enough water to cover and then some, about 10 cups. You’ll end up with about 6 cups stock in the end. Bring to a boil. Once boiling, turn heat to low. Simmer on low during the time the turkey is cooking, 3-4 hours. Skim off any scum that floats to the top. Continue to add more water to the pot during the first couple hours as it evaporates.
Remove from heat after four hours or when your turkey is done cooking.
Cool a little and strain, discarding the solids, unless you want to save the giblets for your gravy. You should have about 6 cups liquid. (Liquid #1)

The fat will rise to the top and this fat separator allows you to pour off the liquid from the bottom to be used later and remove the fat to begin your roux.
Step 2. Prep Drippings. After removing turkey from the roasting pan, pour drippings into a measuring cup, preferably a fat separator that has the spout on the bottom like this one, that allows you to pour the liquid off to save for later (Liquid #2) and have the turkey fat remaining, or without the fat separator, ladle off the fat from the top and place in a saucepan.

Add water to the roasting pan and stir up all the flavorful stuff on the bottom. Strain this and use the liquid for the gravy.
Add some water to what’s left in the turkey roasting pan and place on stove to heat while stirring to loosen the browned bits that have so much flavor. Strain this liquid (Liquid #3) into a separate container.
Step 3. Make Roux. Start with a saucepan on medium-low heat large enough to match your turkey gravy eating crowd. Add 1/2 cup fat from the drippings to the saucepan. Double or triple according to your guest count. If you are short of fat, add butter to bring to the desired quantity. Add 1/2 cup flour to the saucepan or the same quantity of fat/butter in the pan. Stir or whisk to combine the two.
Here is where the magic begins. The fat coats the individual grains of flour so that they are protected from the liquid wanting to clump the flour together into lumps, hence lumpy gravy. So spend some time with your roux – like at least 5 minutes to make sure the flour is evenly coated with the fat.
Step 4. Add the liquid. Your final step to perfect gravy. DO NOT ADD ALL THE LIQUID IN AT ONCE. Increase the heat to medium and pour the liquid a cup or so at a time – the turkey stock you made (#1), the liquid at the bottom of the fat (#2), the strained water/drippings from the bottom of the roasting pan (#3), the chicken broth you opened from a can or made from my favorite product, Better than Bullion – into the roux while you whisk it all together. The roux will magically melt into the liquid and thicken it. Wait until the mixture bubbles or boils to see how thick the gravy is, before adding all the liquid into the roux. Add more liquid until you reach the desired consistency, adding water at the end if necessary.
I like when it coats the spoon, but not so thick that the spoon can stand up in the mixture. haha, that’s a joke. Remember that it will thicken as it cools at the table also. This would be a good time to add in any other liquids you would like in your gravy, like a little wine or some brandy. Once added, cook a couple minutes to cook out the alcohol.
 Step 5. Season. Very Important. If you are using fresh made stock, you absolutely must add salt and pepper. If using a purchased broth, it will have the salt in it already, so TASTE, TASTE, TASTE. Add salt and pepper in your hand first, then into the pot, so you don’t accidentally end up dumping 1/2 the salt container into the pot and ruining your gravy. If you don’t add salt, no one is going to like your gravy, it must be seasoned. Feel free to add in other seasonings, depending on your family’s taste, but in small quantities.
Turkey Gravy Ingredients for approximately 6 cups gravy to serve 15 guests.
1 turkey neck and giblets
10 cups water
1 large carrot peeled and cut into 1 inch slices
1 rib celery, cut into 1 inch slices
1 onion, sliced
2 parsley stems
2 sprigs thyme or 1/2 tsp dried thyme
2 whole cloves
2 peppercorns
1/2 cup turkey fat or butter
1/2 cup flour
1/4 to 1/2 tsp salt & pepper to taste
YOU HAVE NOW GRADUATED FROM GRAVY 101. I hope this has been helpful. Please share your success stories or questions with me. Be patient and soon you will become a gravy-making expert!
Enjoy your Thanksgiving meal! Check out these sides and desserts to add to your meal.
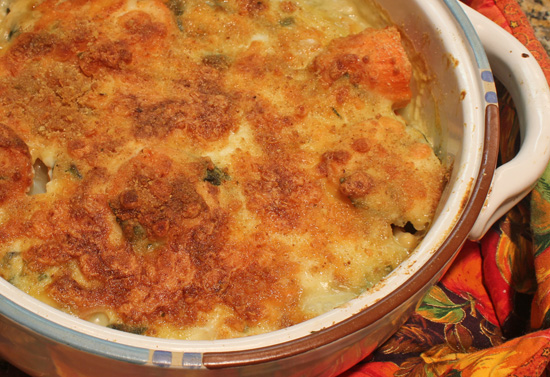
Yam & Swiss Chard or Kale Gratin,
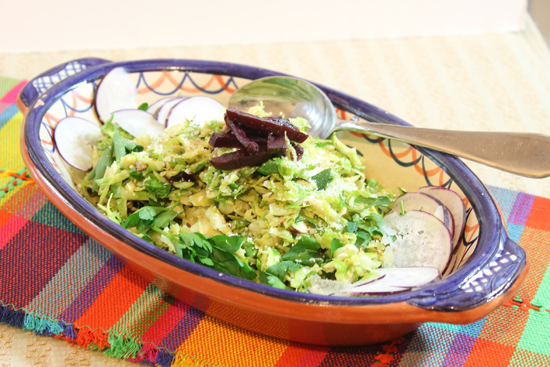
Braised Brussels Sprouts with Bacon or Not
Thanksgiving Brussels Spouts with Chestnuts,
and for the day after, Turkey Stock made from turkey carcass.
Turkey Gravy
Ingredients
- 1 turkey neck and giblets
- 10 cups water
- 1 large carrot peeled and cut into 1 inch slices
- 1 rib celery, cut into 1 inch slices
- 1 onion sliced
- 2 parsley stems
- 2 sprigs thyme or ½ tsp dried thyme
- 2 whole cloves
- 2 peppercorns
- ½ cup turkey fat or butter
- ½ cup flour
- ¼ to ½ tsp salt & pepper to taste
Instructions
- Make the turkey stock. Place turkey neck and giblets into a pot. Add a sliced onion, peeled carrot, celery stalk, 2 parley stems, 2 sprigs of thyme or ½ tsp thyme, 2 whole cloves and 2 peppercorns. Add enough water to cover, about 10 cups. Bring to a boil. Once boiling, turn heat to low. Simmer on low during the time the turkey is cooking, 3-4 hours. Continue to add more water to the pot during the first couple hours as it evaporates.
- Remove from heat after four hours or when your turkey is done cooking .Cool a little and strain, discarding the solids, unless you want to save the giblets for your gravy. You should have about 6 cups liquid
- Prep Drippings. After removing turkey from the roasting pan, pour drippings into a measuring cup, preferably a fat separator that allows you to pour the liquid off and have the turkey fat remaining. .Add some water to the fat separator that allows you to pour the liquid off and have the turkey fat remaining. .Add some water to the turkey roasting pan and place on stove to heat while stirring to loosen the browned bits that have so much flavor. Strain this liquid into a separate container
- Make Roux. Start with a saucepan large enough to match your gravy eating crowd. Add ½ cup fat from the drippings to the saucepan. Double or triple according to your guest count. If you are short of fat, add butter to drippings to the saucepan. Double or triple according to your guest count. If you are short of fat, add butter to bring to the desired quantity. Add ½ cup flour to the saucepan or the same quantity of fat/butter in the pan. Stir or whisk to combine the two. Here is where the magic begins. The fat coats the individual grains of flour so that they are protected from the liquid wanting to clump the flour together into lumps, hence lumpy gravy. So spend some time with your roux - like at least 5 minutes to make sure the flour is evenly coated with the fat.
- 4 Add the liquid. Your final step to perfect gravy. DO NOT ADD ALL THE LIQUID IN AT ONCE. Pour the liquid a cup or so at a time - the turkey stock you made, the strained water/drippings from the bottom of the roasting pan into the roux while you whisk it all together. The roux will magically melt into the liquid and thicken it. Wait until the mixture bubbles or boils to see how thick the gravy is, before adding all the liquid into the roux. Add more liquid until you reach the desired consistency, adding water at the end if necessary.
- Season. Very Important. If you are using fresh made stock, you absolutely must add salt and pepper. If using a purchased broth, it will have the salt in it already, so TASTE, TASTE, TASTE.
- ENJOY THIS RECIPE FROM FRESHFOODINAFLASH.COM
Nutrition
Fresh Food in a Flash is a participant in the Amazon Services LLC Associates Program, an affiliate advertising program designed to provide a means for sites to earn advertising fees by advertising and linking to Amazon.com.





[…] If it was frozen, you may need to run warm water to get the last bit of ice out of the cavity. Save the giblets and the neck to make a stock for an easy lump-free gravy while the turkey is c… Set aside the turkey, while you make the stuffing and preheat the oven. 300° convection, 325° […]