
Bruschetta w/Ricotta Cheese
Ricotta Cheese: Prep 5 mins Cook 20 mins Wait 10 mins Eat 35 mins
Bruschetta: Prep 10 mins Cook 2 mins Eat 12 mins
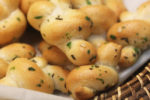
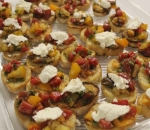
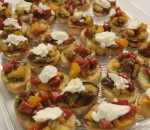
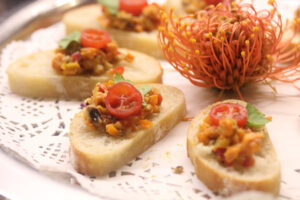
Bruschetta is so simple to make, but so rewarding. This was one of the delicious dishes we enjoyed at our Harvest Festival Class on August 4. Simple Vegetarian dishes that really sang. Home-made ricotta cheese that melted in your mouth like fresh light clouds of cheese on top of sweet garden heirloom tomatoes on top of freshly grilled home-made bread moistened with fruity olive oil and garlic. What’s not to love? This is fresh food at it’s finest…and in a FLASH! I make Bruschetta on fresh baked bread a lot, but the freshly made ricotta cheese took this dish to another level! Ellen and Natalie, who made this dish executed it perfectly and to make it yourself, find the recipe below.
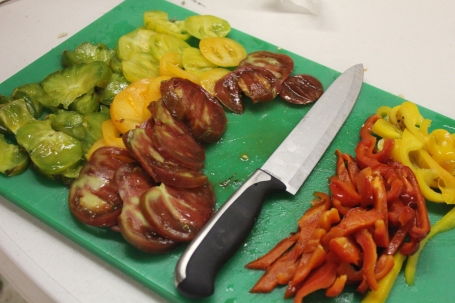
Heirloom Tomatoes and Roasted Peppers
In August, I feel that there’s just not enough meals to eat all the vegetables in the garden or the abundant array of vegetables and fruit splayed out at the weekly Farmer’s Market. It’s my favorite time of the year for food and fun and I could eat Italian Bruschetta every day. I am so disappointed come November, when the tomato vines are withering and the basil plants become like sticks with a few green leaves clinging to them. Of course, by then I’m ready for soups and stews, but I lament!
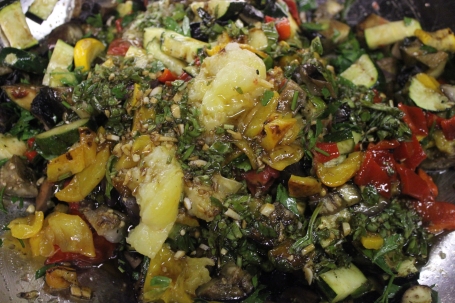
Grilled Ratatouille
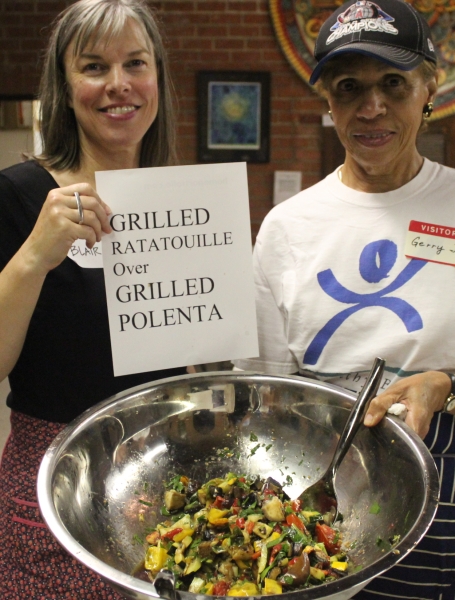
The big surprise in this class was the Grilled Ratatouille over Polenta. I’ve roasted my Ratatouille in the oven in the past, so this was the next step in my ratatouille education. Traditional ratatouille recipes have you add all your vegetables into one pot. I prefer keeping the flavors of the individual vegetables separate and then combining them once cooked.
The team of Gerry and Blair were guided by a recipe from Pacific Grilling Cookbook by Denis Kelly and grilled up some zucchini, yellow squash, tiny globe eggplants, green onions, heirloom tomatoes, portobello mushrooms and red and yellow peppers. They tossed their diced vegetables with a garlicky Balsamic Basil Vinaigrette and this was pure heaven served over polenta made with our freshly made ricotta cheese. I loved this so much I made it again for a dinner party. I was afraid to use sliced onions in class, because I thought they would fall through the grill, but did so at home. The slow carmelization of white or yellow onion slices on the grill is a new discovery I am likely to repeat very soon.
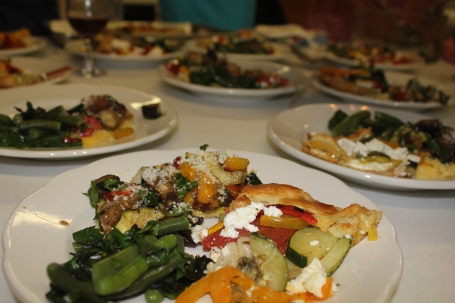
Our Harvest Festival Meal
Originally we were intending to grill the polenta. I had made the polenta ahead of time according to a recipe in Emeril at the Grill Cookbook using 2 1/2 cups each water and milk to 2 cups cornmeal. then adding in 3 T butter and 1/2 cup of our home-made ricotta cheese. I chilled the polenta overnight, but once I brought it out in the warm weather it softened and was not firm enough to grill. Even after baking it in the oven, it still wasn’t firm, but nevertheless, it was super delicious with the grilled ratatouille. When I made the polenta the second time, I stirred it longer in the pot and it did firm up enough to grill it, but I took the easy way out and baked it again.
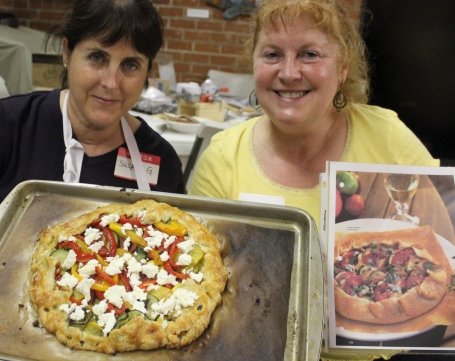
Susan and Lisa with Rustic Garden Tart
The heirloom tomatoes were my mainstay for the evening. The team of Susan and Lisa made the most beautiful Rustic Tart with the tomatoes, zucchini, yellow squash and roasted peppers. They were so proud that it looked just like the picture in the magazine and so was I. They too used the homemade ricotta cheese in their recipe – as a base under the vegetables and with dollops on top. This dish was sensational!
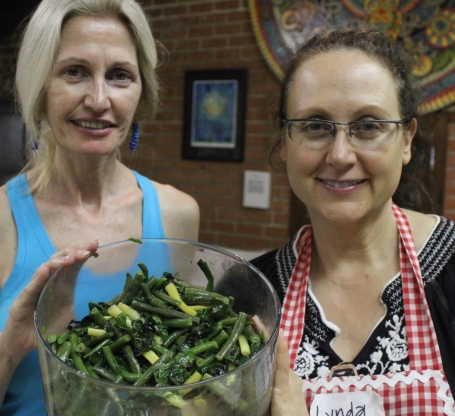
Marie and Lynda with Rainbow Bean Salad
The team of Linda and Marie crafted our Rainbow Bean Salad. Hannah had just picked the green, purple and yellow beans along with some swiss chard from the Holy Nativity Community Garden outside our door for this dish. I had grown the green fennel seed and the mint came from Hannah’s garden. It was a compilation of celebrating truly local Westchester food. Unfortunately when you cook the purple beans, they turn green. It makes you want to serve them raw just to enjoy the beauty of the beans. The green fennel seed is a secret gardener’s treat. You cannot purchase it at the market, because it begins to dry as soon as it is picked. But grow the fennel bulb for winter cooking and let it go to seed in the summer. When you eat the green fennel seeds, you will have a succulent anise explosion in your mouth unlike anything else. These are delicious on any summer salad or vegetable dish. Wait to pick the green fennel seed until the day you serve your dish and place the stem in a glass of water to keep fresh as long as possible.

Chocolate Dipped Apricots with Apricot Gelato
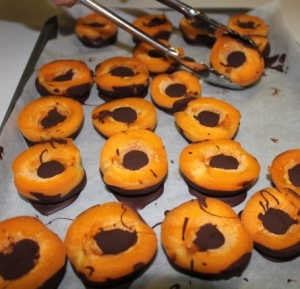
Dessert was another taste explosion. Perfectly ripe apricots from the Culver City Farmer’s Market were used for our Chocolate-Dipped Apricots with Apricot Gelato from La Cucina Italiana Magazine.
Karen, Susan and Hannah did a beautiful job on these. The taste of the fresh apricots came through loud and clear suspended in the creamy custard of the Apricot Gelato.
This was an absolutely YUMMY night. The Harvest Festival Class proved to all of us that the freshness and quality of the ingredients DO matter when making a garden to table meal. The meat eaters didn’t feel that they gave up a thing when eating this meal!
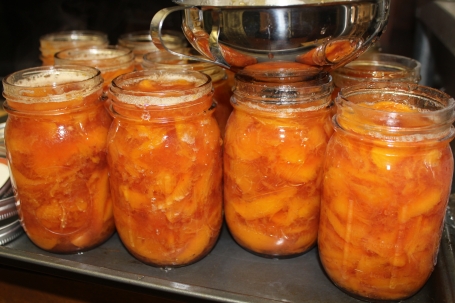
Peach Conserve
In between all of the usual chaos in our Cooking Classes, Peter was brewing up a Peach Conserve that we bottled into canning jars in time for everyone to take a jar home with them. That’s what eight crates of very ripe peaches will do for you.
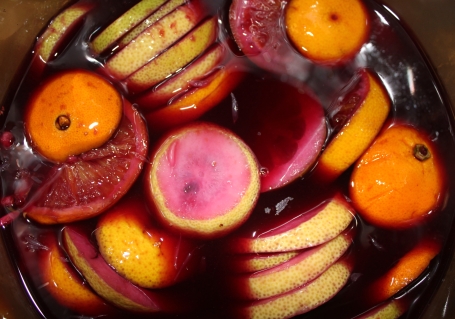
Sangria
When the harvest calls, we can make Lemonade or Sangria out of lemons and Peach Conserve out of peaches that didn’t have to go to the compost pile!!
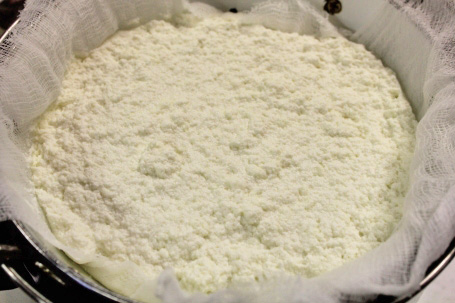
Straining Ricotta Cheese
Ricotta Cheese
1 gallon whole milk
1 pint heavy cream
1 quart buttermilk
1 tsp salt
Procedure
1. Line a large strainer with two layers of cheesecloth and place over a large bowl.
2. In a large pot, slowly bring the milk, cream, buttermilk and salt to a gentle simmer over medium-low heat, stirring occasionally to prevent scorching until bubbles form on the surface. Let the mixture bubble until curds begin to form (about 5 minutes). Remove from heat and let sit without stirring for 10 minutes. The pale green whey will begin to separate from the curds.
3. Gently pour the mixture into the lined strainer. Discard the liquid in the bowl and leave strainer over the bowl to continue draining as it chills in the refrigerator. After about one hour, you can discard the remaining liquid in the bowl. You can use the ricotta at this point in your recipes or even at the beginning of the chilling process.
4. Ricotta can be stored in an airtight container for a few days
Servings: 16
Yield: 1 quart
Ricotta Cheese
Ingredients
- 1 gallon whole milk
- 1 pint heavy cream
- 1 quart buttermilk
- 1 tsp salt
Instructions
- Line a large strainer with two layers of cheesecloth and place over a large bowl.
- In a large pot, slowly bring the milk, cream, buttermilk and salt to a gentle simmer over medium-low heat, stirring occasionally to prevent scorching until bubbles form on the surface. Let the mixture bubble until curds begin to form (about 5 minutes). Remove from heat and let sit without stirring for 10 minutes. The pale green whey will begin to separate from the curds.
- Gently pour the mixture into the lined strainer. Discard the liquid in the bowl and leave strainer over the bowl to continue draining as it chills in the refrigerator. After about one hour, you can discard the remaining liquid in the bowl. You can use the ricotta at this point in your recipes or even at the beginning of the chilling process.
- Ricotta can be stored in an airtight container for a few days
- Yield: 1 quart
- ENJOY THIS RECIPE FROM FreshFoodinaFlash.com
Nutrition
Bruschetta
4 tomatoes, preferably Heirloom or Roma
6 cloves garlic, divided
1 Tbs balsamic vinegar
pinch sugar
pinch salt & pepper to taste
1/4 cup olive oil, divided
1/4 cup basil leaves, shredded
1 loaf french or italian bread
Procedure
1. Prepare Tomato Checca. Dice tomatoes and place in a bowl. Mince 2 cloves of garlic and add to the bowl. Add balsamic vinegar, basil, sugar, salt and pepper. Drizzle a Tablespoon or 2 of olive oil just to coat the tomatoes and stir.
2. Slice bread into 3/4 inch slices. Place on hot grill for a minute just until grill marks form and flip. Watch – watch and be careful not to burn.
3. Cut garlic clove in half. Rub the garlic onto the surface of one side of the bread. Brush bread with olive oil and place on platter.
4. Spoon Tomato Checca over the bread and serve.
Servings: 10
Bruschetta
Ingredients
- 4 tomatoes preferably Heirloom or Roma
- 6 cloves garlic divided
- 1 Tbs balsamic vinegar
- pinch sugar
- pinch salt & pepper to taste
- 1/4 cup olive oil divided
- 1/4 cup basil leaves shredded
- 1 loaf french or italian bread
Instructions
- Prepare Tomato Checca. Dice tomatoes and place in a bowl. Mince 2 cloves of garlic and add to the bowl. Add balsamic vinegar, basil, sugar, salt and pepper. Drizzle a Tablespoon or 2 of olive oil just to coat the tomatoes and stir.
- Slice bread into 3/4 inch slices. Place on hot grill for a minute just until grill marks form and flip. Watch - watch and be careful not to burn.
- Cut garlic clove in half. Rub the garlic onto the surface of one side of the bread. Brush bread with olive oil and place on platter.
- Spoon Tomato Checca over the bread and serve.
- ENJOY THIS RECIPE FROM FreshFoodinaFlash.com
Nutrition
Click on the frog to see more Tomato and Zucchini recipes from the Food Bloggers of Los Angeles.



[…] was just me and my sweetheart, so I decided to make one of his favorite dishes, Grilled Ratatouille over Grilled Polenta. I knew this would travel well. Then with a moment of recklessness, I noticed the peaches in […]
[…] learned to make French Baguettes, try these recipes to go with them. Italian Caponata, Bruschetta with Homemade Ricotta Cheese, Roasted Eggplant Salsa = Indian Baingan Ka Bharta, Roasted Red Pepper and Sun-Dried Tomato […]
[…] some extra milk and buttermilk in my fridge, so I combined the two with some salt and made some fresh ricotta cheese…to go with my fig jam. This is often how things work in my kitchen. One project turns […]
[…] Homemade Ricotta Cheese […]